How to Install a 5x5 Lace Closure Like a Pro (No Stylist Needed)
Wigs and closures are no longer just beauty accessories—they're a lifestyle. And if you’ve just purchased a premium 5x5 lace closure from Qua Hair, you’re already halfway to slaying your look. But here’s the best part: you don’t need a stylist to achieve a salon-quality install.
In this guide, we’ll walk you through how to flawlessly install your 5x5 closure at home, using tools and products from our store. Whether you're a beginner or brushing up your technique, this is your no-fail routine for an undetectable melt.
Why Choose a 5x5 Lace Closure?
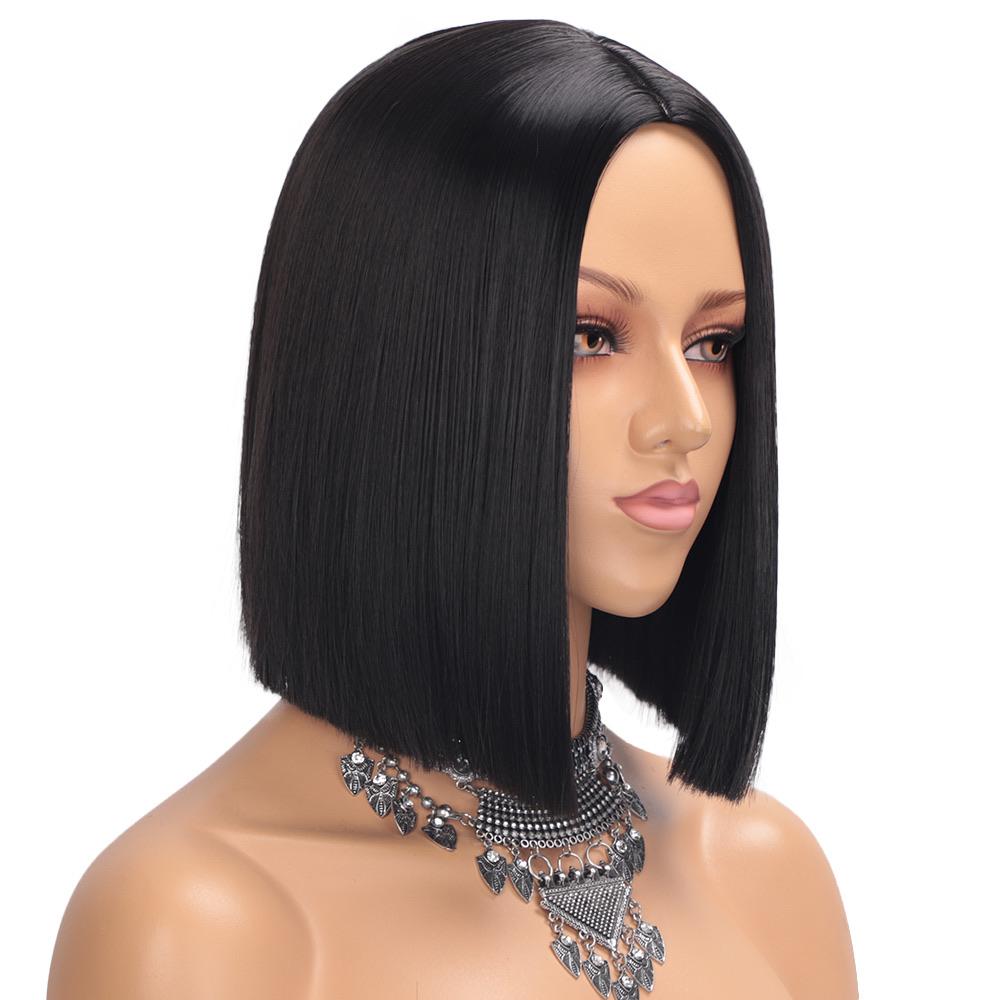
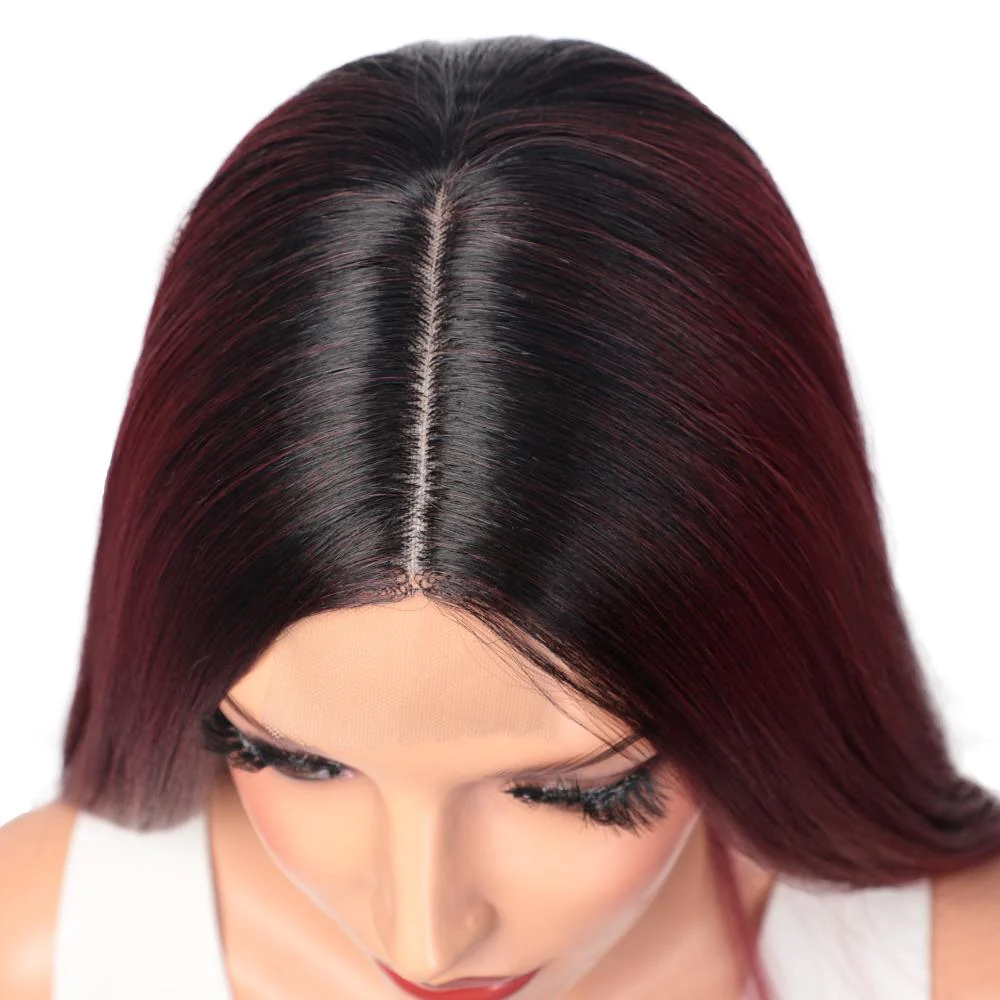
The 5x5 closure is loved for its versatility and ease. It gives you a natural middle or side part, blends seamlessly with your scalp, and offers just enough lace to play with—without the high maintenance of a full frontal.
At Qua Hair, our closures are made from 100% raw human hair, offering long-lasting quality and a luxurious finish. Explore our range of closures here.
What You’ll Need:
Before you begin, gather your tools:
-
Bundles from the Raw Hair Collection
-
Hair scissors or razor
-
Wax stick and hot comb
-
Lace adhesive or glue (optional for glueless method)
-
Edge brush
-
Melting band
-
Flat iron or curling wand
-
Argan Healing Oil 24K Gold for finishing
Step-by-Step: Installing Your Closure
Step 1: Prep Your Base
Braid your hair into cornrows and wear a wig cap that matches your scalp tone. Use a little foundation or lace tint for added realism.
Step 2: Place Your Closure
Position the 5x5 lace closure at the center of your hairline. Adjust until it sits flat and natural. If you’re doing a full wig install, make sure it aligns perfectly with your bundles—check out our bundle deals to match your closure texture.
Step 3: Secure It
For a glueless method, sew down the closure along the braid line. If you prefer adhesive, apply lace glue or gel along the hairline, press the lace into it, and secure with a melting band for 10–15 minutes.
Step 4: Style the Hairline
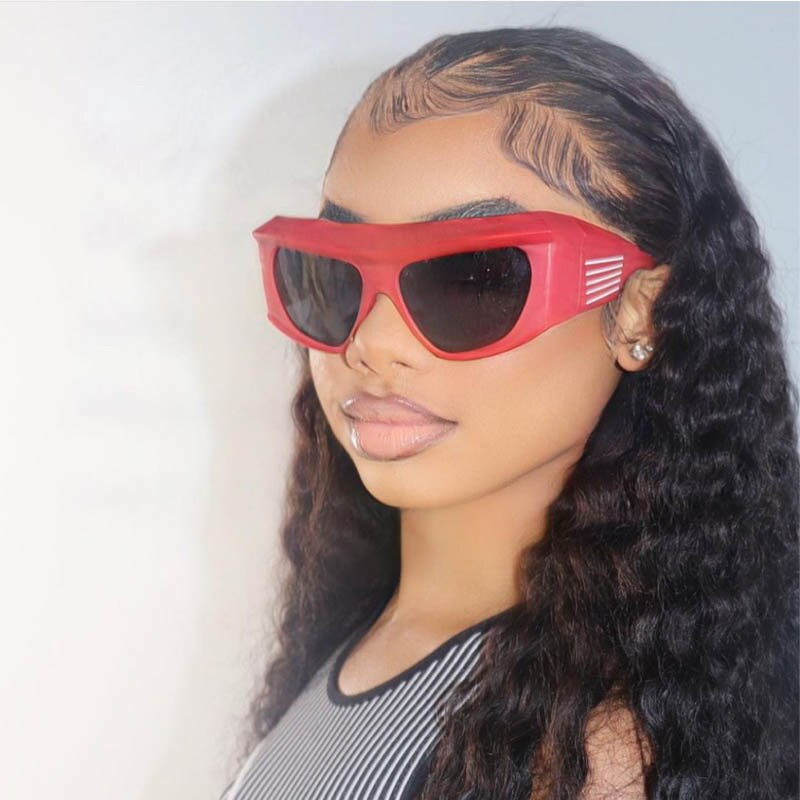
Pluck the hairline slightly for a more natural look (our closures come pre-plucked for your convenience!). Use a hot comb and wax stick to press the part flat. Lay your edges using an edge brush for that polished finish.
Step 5: Add the Final Touch
Style as desired—flat iron, curl, or wave. Finish with a few drops of our Argan Healing Oil 24K Gold to give your hair that signature Qua glow.
Real Results from Real Babes
Our customers love the easy install and premium quality of our closures. Just read the reviews on our Closures Collection—these beauties speak for themselves.
Want even more finesse? Pair your closure with a silk-based Soleil Flat Iron for smooth, frizz-free styling.
Final Tips from the Qua Hair Team
-
Always prep your lace with powder or tint to match your skin tone.
-
Use a melting band to get that seamless finish—no filter needed.
-
For daily maintenance, hydrate the hair with Moroccan Hair Serum or Leave-In Conditioner.
Ready to Slay?
Your perfect install starts with premium hair. Shop our full collection of Closures, Bundles, and Styling Tools to complete your look.
Because at Qua Hair, beauty isn't just worn—it's owned.

